

Hosting Your Website on AWS: A Beginner's Guide
"Embark on Your AWS Hosting Journey: A Beginner's Guide to Effortless Website Deployment with AWS EC2"


Are you a beginner eager to host your website on Amazon Web Services (AWS) in a simple and effective manner? Look no further! This guide will walk you through the process step-by-step, ensuring your website is up and running seamlessly. The best part? All you need is an AWS account!
Overview:
This guide is tailored for beginners who wish to leverage AWS to host their websites effortlessly. By following these straightforward steps, you can have your website hosted in no time. The use of an AWS free tier account allows you to explore and deploy your website on an EC2 instance.
AWS EC2 Instance:
Step-by-step guide illustrate launching an Ubuntu instance on Amazon EC2:
Login to AWS Console:
Open the AWS Management Console: https://aws.amazon.com/.
Sign in to your AWS account.
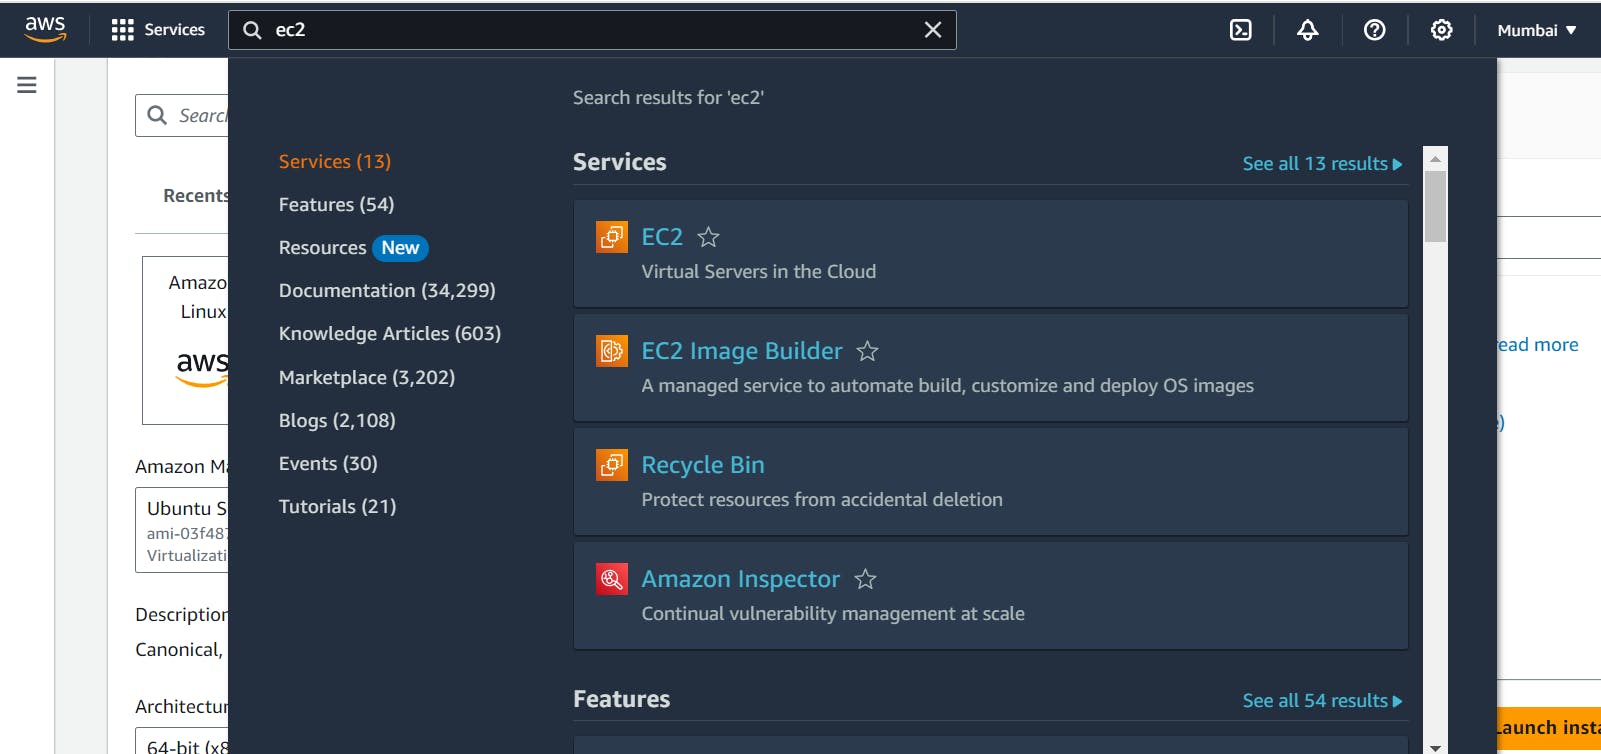
Navigate to EC2:
- In the AWS Management Console, go to the "Services" dropdown and select "EC2" under the "Compute" section.
Launch an Instance:
- Click on the "Launch Instance" button.
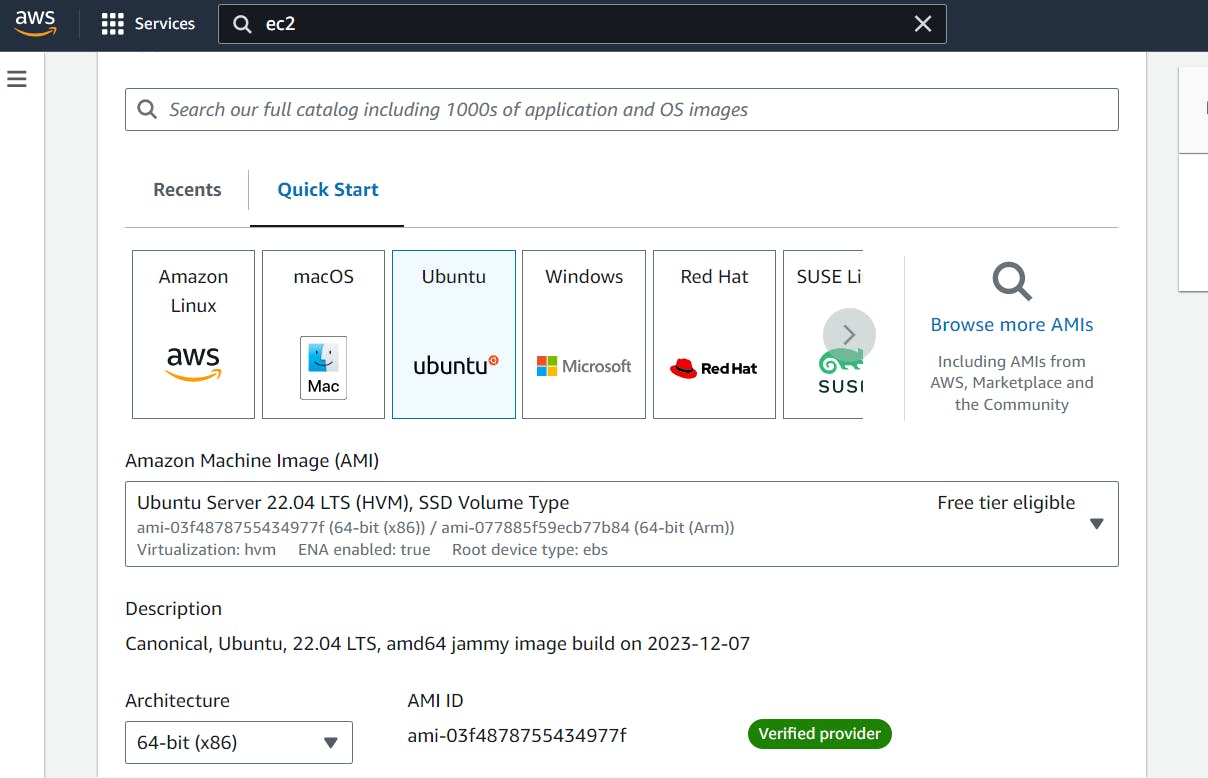
Choose an Amazon Machine Image (AMI):
- In the "Choose an Amazon Machine Image (AMI)" step, select an Ubuntu AMI. Use the search bar to filter by entering "ubuntu."
Choose an Instance Type:
- In the "Choose an Instance Type" step, select the instance type that meets your requirements (Free tier t2.micro). The default selection is usually a good starting point.
Configure Instance:
- In the "Configure Instance" step, you can leave the default settings or customize them based on your needs.
Add Storage:
- In the "Add Storage" step, specify the amount of storage you need for your instance. The default settings are typically sufficient for a basic setup.
Add Tags (Optional):
- You can add tags to your instance for better organization (like practice). This step is optional.
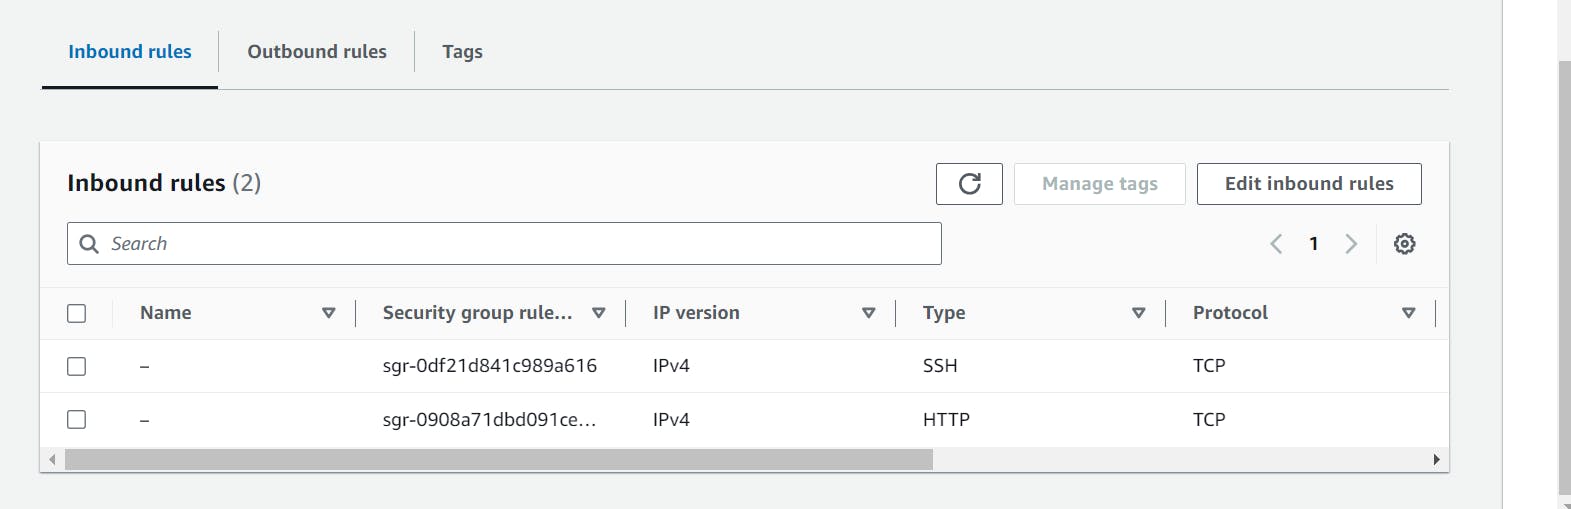
Configure Security Group:
- In the "Configure Security Group" step, configure the security group to allow incoming traffic. At least, allow SSH (port 22) for connecting to your instance. Optionally, allow HTTP (port 80) for web server access.
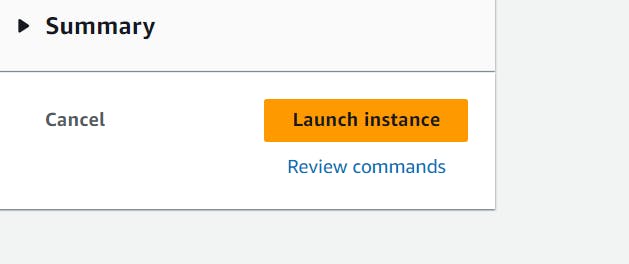
Review and Launch:
- Review your configurations in the "Review Instance Launch" step. If everything looks good, click on the "Launch" button.
Select Key Pair:
- In the "Select an existing key pair or create a new key pair" window, choose an existing key pair or create a new one. This key pair is necessary to connect to your instance securely.
Launch Instances:
- Click on the "Launch Instances" button.
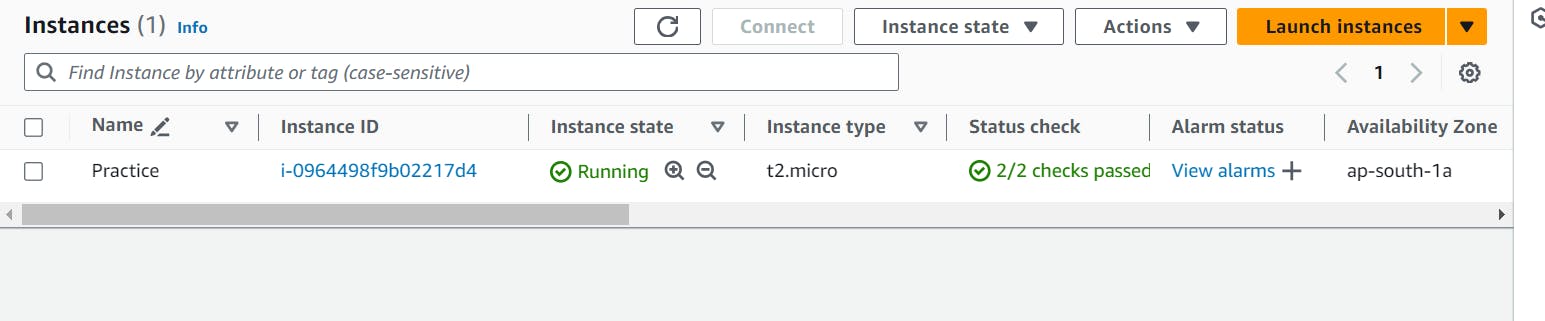
Your Ubuntu instance is now launching. Once it's running, you can connect to it using SSH using the private key associated with the key pair you selected during the launch process or you can connect directly through aws console connect option.
Screenshots:
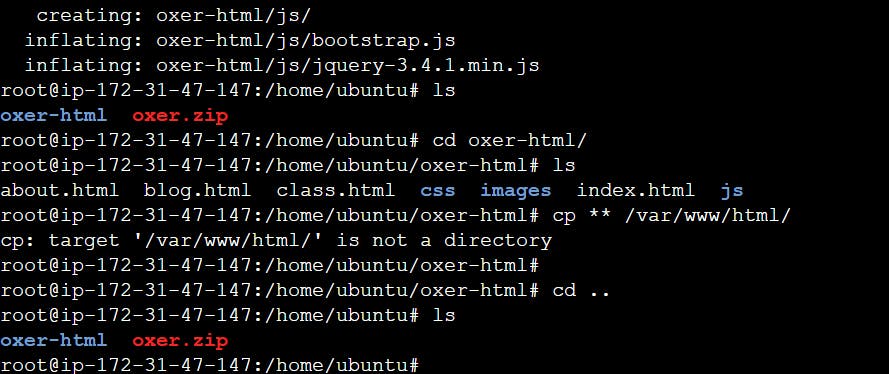
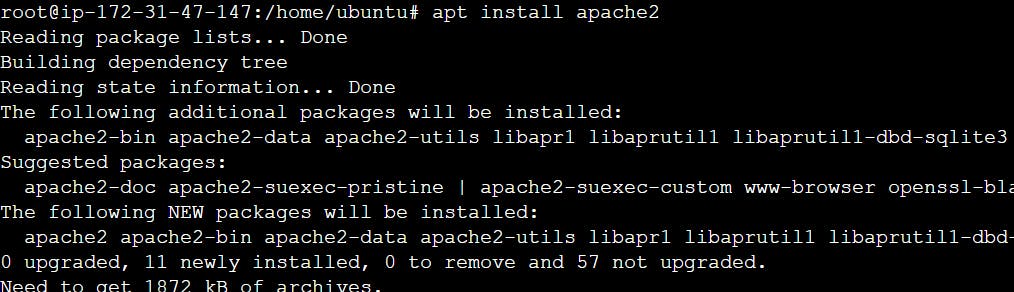
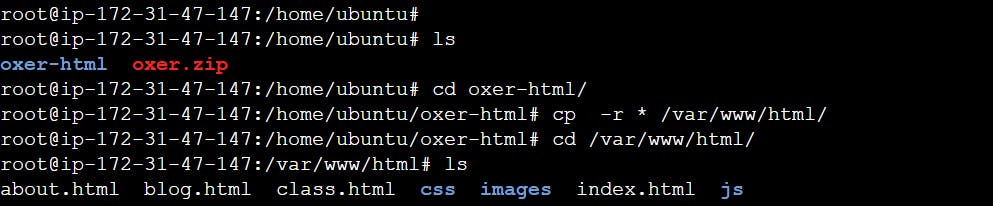
Follows the screenshots for reference:


Paste the public ip in the browser and access the website

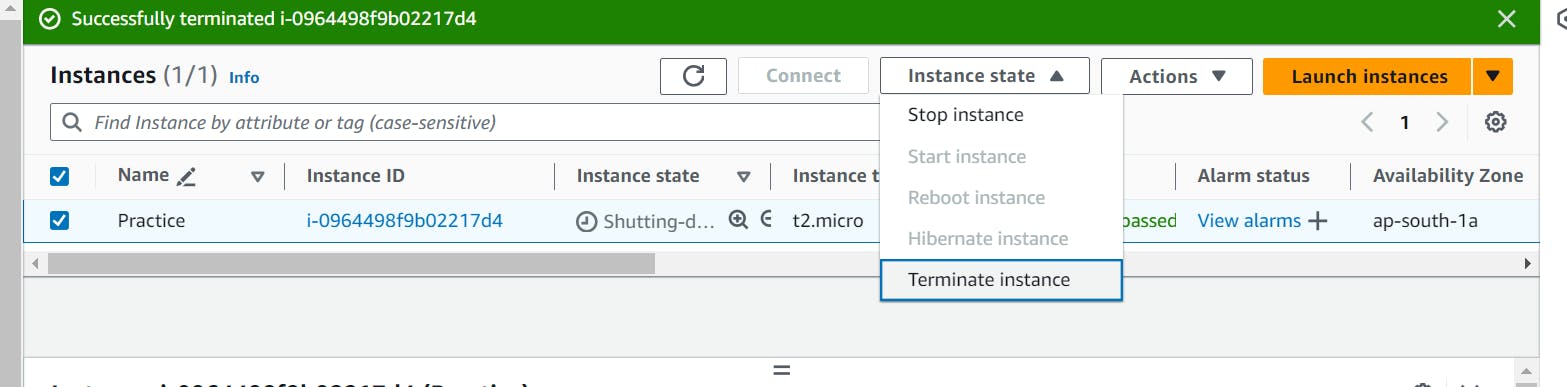
Terminates the machines after completion.
Conclusion:
With this guide, even beginners can confidently host their websites on AWS. The use of an AWS free tier account ensures a cost-effective and risk-free environment to explore the powerful capabilities of cloud hosting. Follow these steps, and soon your website will be live, hosted securely on an AWS EC2 instance.
Disclaimer:
Always be mindful of AWS best practices and security measures to ensure a reliable and secure hosting experience.